
Here is a truth most people miss: a test is only as good as the specimen it runs on. A badly cut, contaminated, or poorly conditioned sample gives a wrong answer no matter how precise the instrument. Sound material testing sample prep methods are what make a result trustworthy and repeatable. This guide explains the main material testing sample prep methods and why they matter as much as the test itself.
At Kiyo R&D Lab, careful specimen preparation is built into every job, because we know it is where most testing errors are either introduced or avoided. Understanding these methods helps you submit the right sample and read your report with confidence.
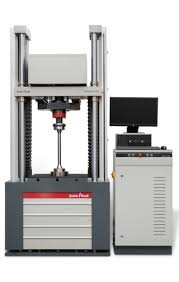
Your guide to specimen preparation at Kiyo R&D Lab
Different tests demand different specimens, so material testing sample prep methods span cutting, moulding, conditioning, and cleaning. The table below shows the main methods and why each one is used.
| Method | Why It Matters |
|---|---|
| Die-cutting / punching | Exact dumbbell/bar shape for tensile & flexural |
| Machining / milling | Precise dimensions without heat damage |
| Compression / injection moulding | Standard plaques from pellets or compound |
| Conditioning | Stable temperature & humidity before testing |
| Mounting / polishing | Clean surface for microscopy & SEM |
| Cleaning / drying | Remove contamination & moisture |
Each standard specifies its own requirements, so correct material testing sample prep methods mean matching the specimen exactly to the test being run — specimen type, dimensions, and conditioning all defined by the method.
Most avoidable test errors trace back to preparation: a nick at the edge of a tensile bar that starts an early break, a specimen tested before it stabilised, or heat from careless cutting that changes the material. Good material testing sample prep methods exist precisely to eliminate these hidden variables.
That is why an accredited lab treats preparation as part of the test, not an afterthought — the discipline before the instrument is what makes the number defensible.
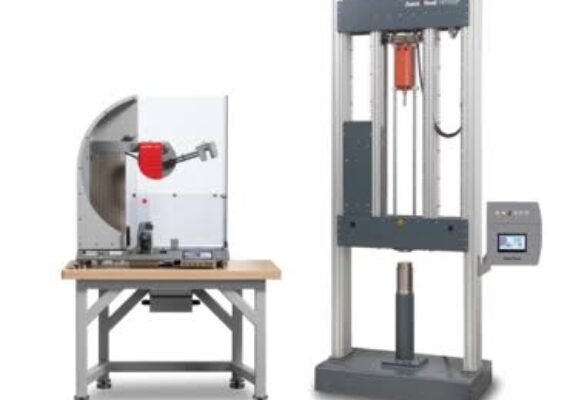
The most accurate instrument in the world cannot fix a flawed specimen. By applying the correct material testing sample prep methods — cutting, moulding, conditioning, and cleaning to the standard — Kiyo R&D Lab makes sure your result reflects the material and nothing else, with NABL-accredited reporting where applicable.
Send us your material and the test you need, and our Chennai team will prepare the specimens correctly and get you defensible results fast.
Call: 90420 86986 | 90876 86986
Web: www.kiyorndlab.com
The right material testing sample prep methods are defined by the test standard itself — for example ISO 23529 for rubber preparation and conditioning, or ISO 527 / ASTM D638 specimen geometry for plastics tensile. Accredited reporting is available for methods within our NABL scope.
You can, but specimen errors are the top cause of bad results. If you are unsure, send us the material and we will apply the correct material testing sample prep methods for your test.
Many materials keep changing after cutting or moulding. Conditioning to a standard temperature and humidity stabilises the specimen so the test measures the material, not a transient state.
Yes. Heat or rough edges from poor cutting can weaken a specimen and skew the result, which is why material testing sample prep methods control exactly how specimens are produced.
Enough to make the required number of specimens plus spares. We advise on the exact quantity once we know your test and material.